
Paint Forge Documentation
Key Concepts
This is a very simple app, with the goal of doing just a couple of things well and no more:
- Track which paints you have along with the basic info about them
- Track which paints you need to get
- Record which paints you use on a particular miniature or terrain. This can be a plan for a paint job, a record of what you actually did, or for any reason you like.
None of this is sophisticated, the app will not go pull images of your paint jar, allow you to upload finished paint jobs etc. All of that leads to fragility, for little value imho.
The one complex part of the app is how you may choose to sync your data to the cloud and share it across devices. You can not do this and the app will work just fine, but if you clear your cache, get a new device etc — say goodbye to your data. If you do choose to sync to the cloud it is effectively anonymous. No login, no user tracking, I really couldn't care less about any of that. If you like the app, buy me a coffee. Your data is not for sale from my digital turf. Anyway, cloud sync will be covered at the bottom of this page. Again, if you don't sync, you're actually pretty likely to lose your work at some point, but feel free to YOLO it.
The app is meant to be used on a mobile device so the interface is tailored that way. I only use it on an old fashioned computer if I'm adding more than a few things. Once the data is in, most of the use is for looking at it, and mobile is fine for that.
Screens
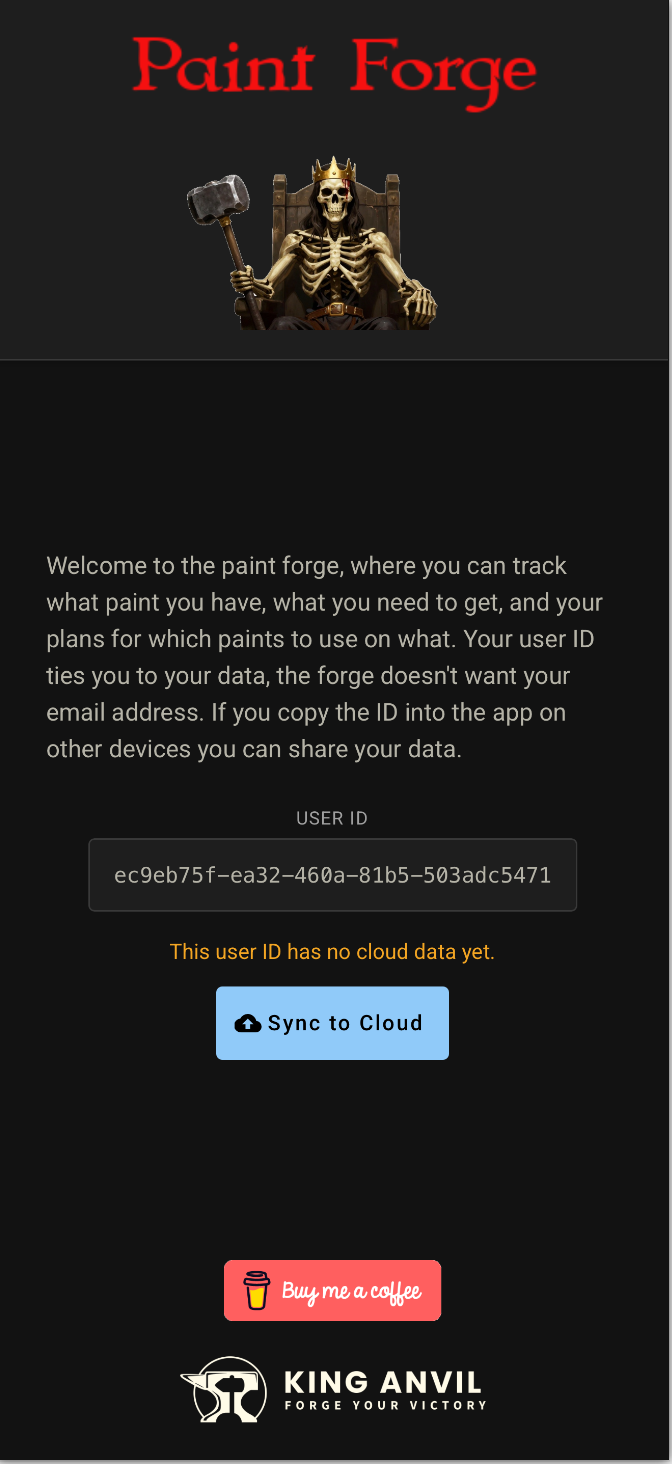
Welcome Screen — New User
When you first load the app. Note the “Sync to Cloud” button, it is telling you that your data has never been stored to the cloud. It’s also showing you the user id which is in use. This is the part you will want to remove and paste over if you are connecting your device up to an existing data set / user id.
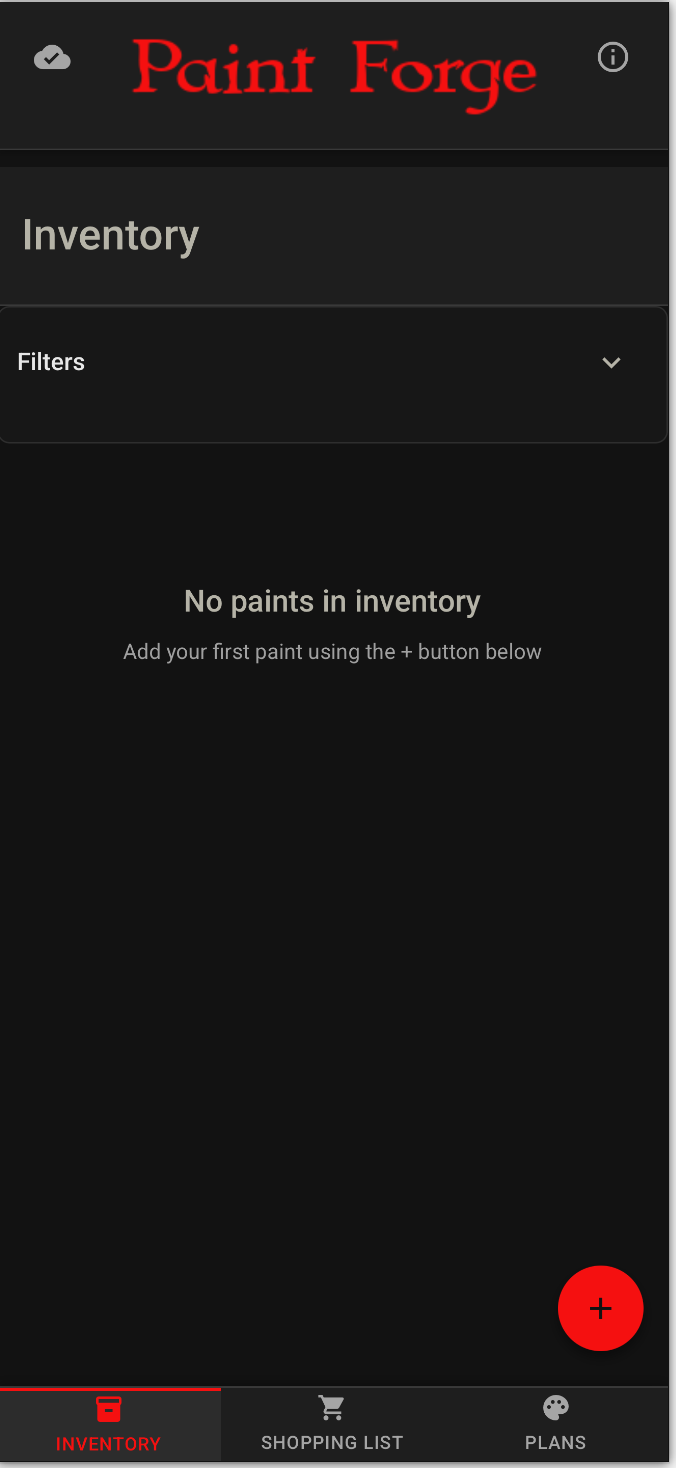
Inventory Screen — Empty
When you first try out the app, you won’t have any paints in your inventory. If you look toward the bottom you see three tabs which let you switch between functions. On this “Inventory” function you can use the + button to add a new paint.
Add Paint
When you use the + button to add a new paint from either the Inventory or the Shopping tabs, you see this dialog. Pretty straightforward.
Note the cloud with a check in the top left. This indicates that your local data is in sync with your cloud data, so it is “saved”. Once you add the new paint, this will change to indicate you have local changes and need to save to the cloud. Or, ignore this and just keep things local.

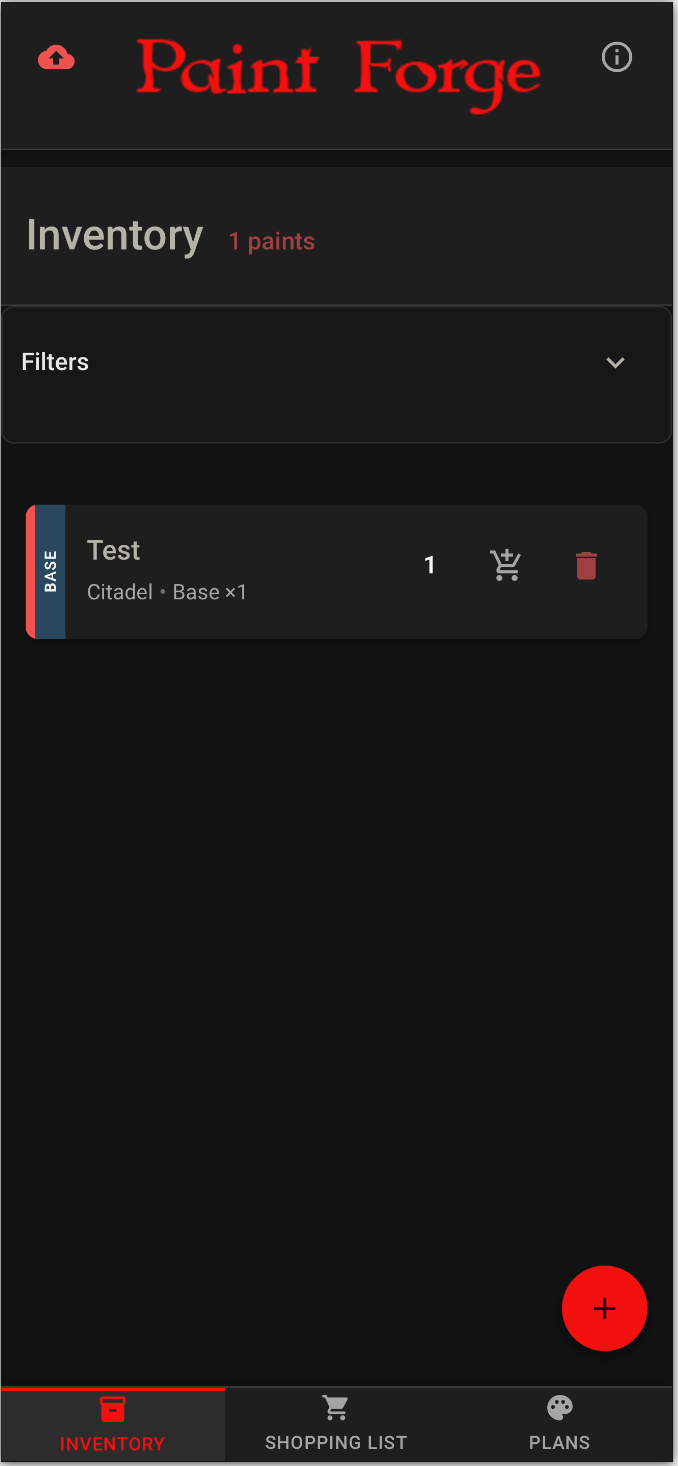
Inventory Screen — One Row
Here we have the Inventory tab with a single paint for demonstration purposes. On the row for the paint you can see some basic info about the paint itself on the left side, and some buttons on the right. The number, “1” in this case, is actually a widget which allows you to increment or decrement the number of bottles of that paint you have. The cart next to it allows you to copy or move the paint from Inventory to the Shopping List, for example if you are getting low and need to pick up a new bottle of it. Trash can is .. delete.
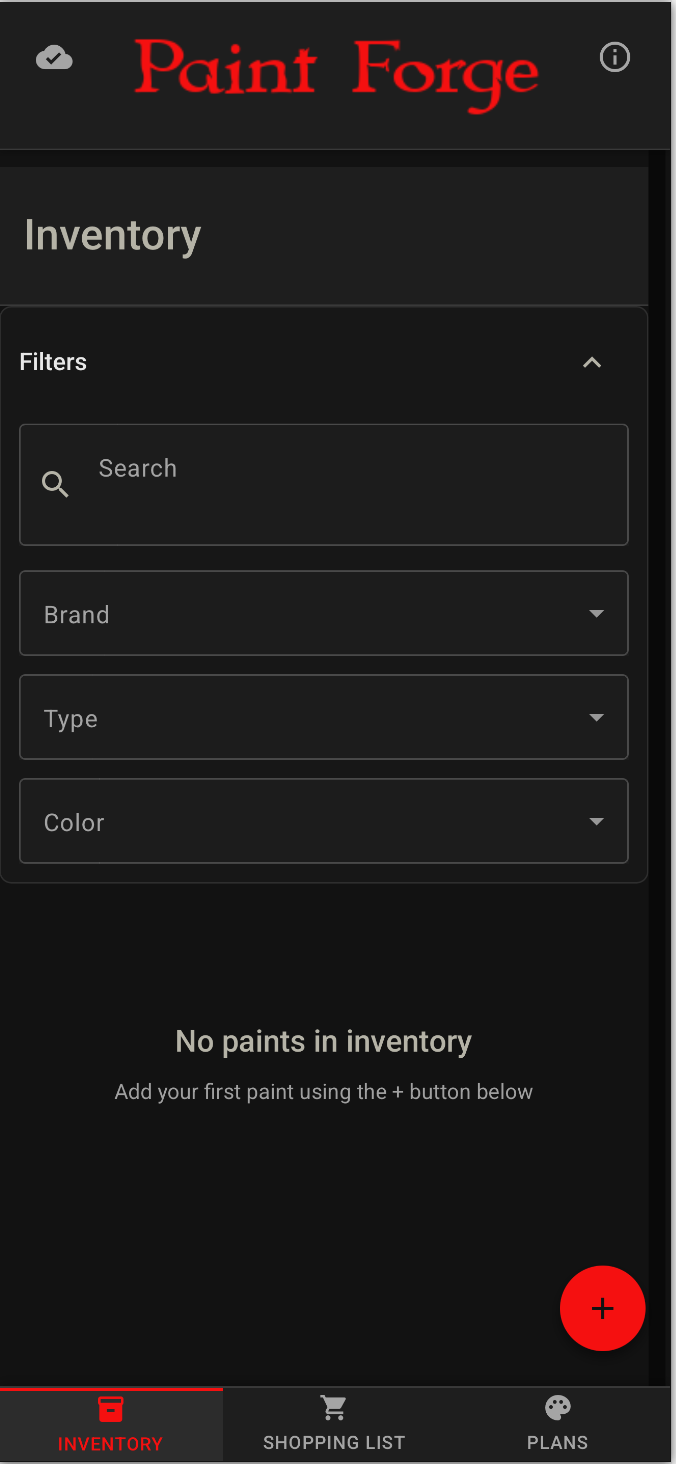
Inventory Screen — Filters
You can use the Filters drop down menus to refine what you see on several screens, for example if you want to browse your primers. The search by name is fairly particular, it isn’t going to pick up typos or missing apostrophes etc.
Info Dialog — No Change
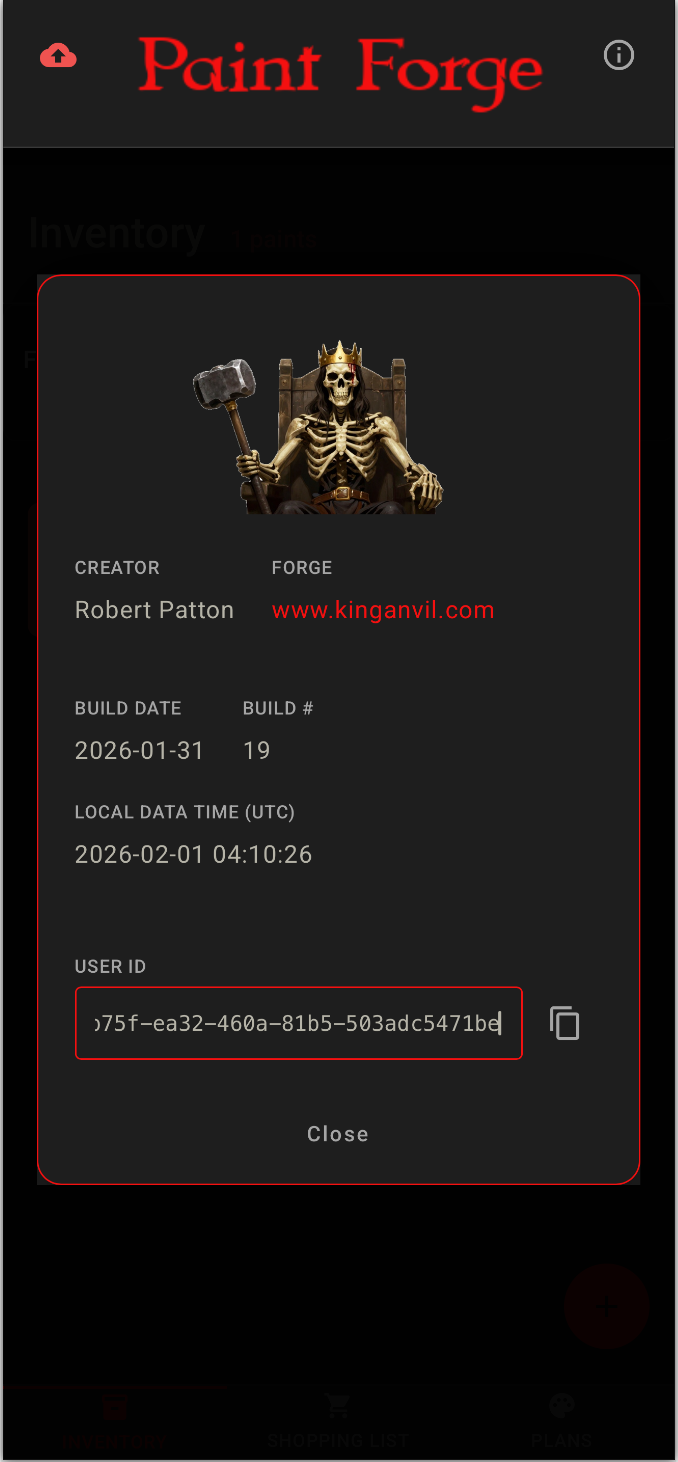
The Info dialog can be opened from the “i” button on the top right of all screens.
Beyond the obvious, the useful part of this screen is around the user id. Here you can copy the existing ID so you can share it to another device (however you choose, sharing is not built in), you can also edit the user id to connect this device / browser to an existing account. The app will warn you and guide you somewhat as you do that, because you are potentially losing data by disconnecting from the current User ID. I suggest copying the existing ID out somewhere safe before replacing it, just in case.
Info Dialog — New User ID
Here we see the process when you paste in a different user ID. You are given options to either sync to the new ID, or revert to the prior one. Once you sync, that revert button is gone.

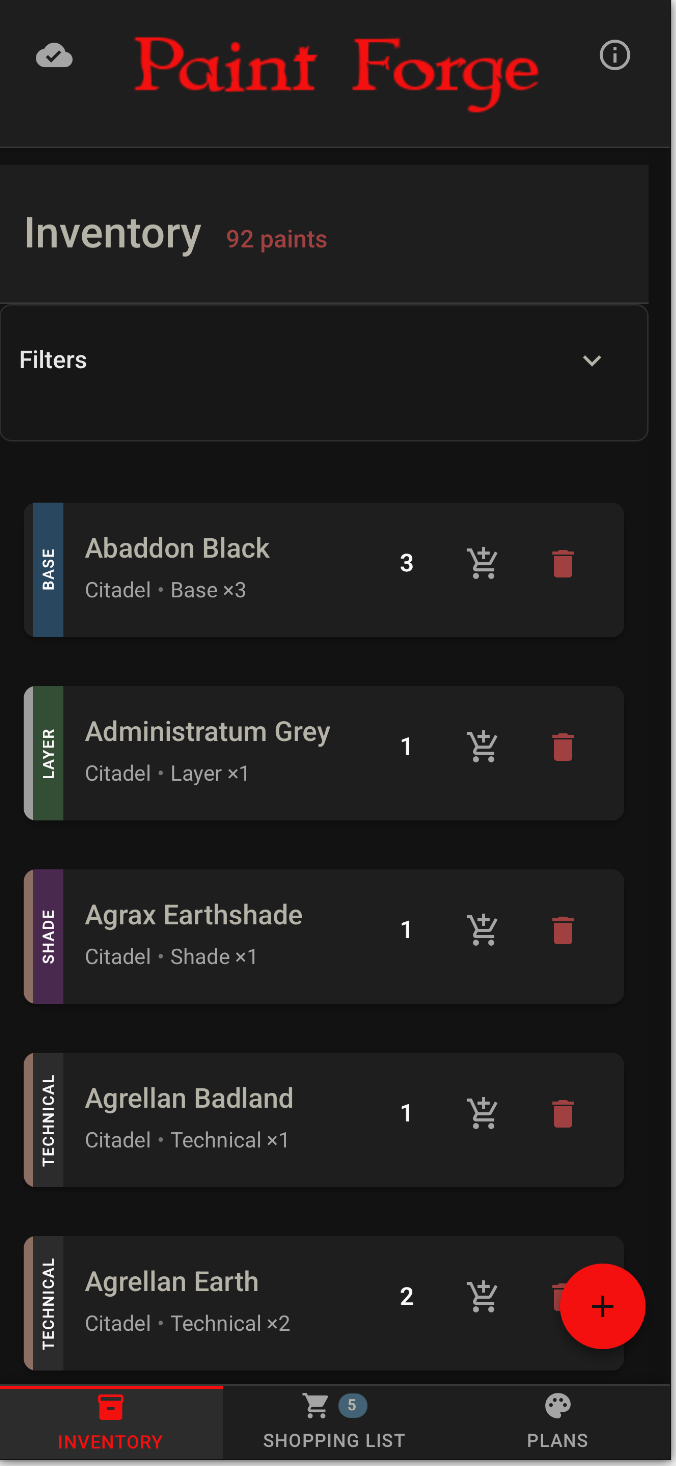
Inventory Screen — Full
Just a sample view of a populated Inventory. Note the shopping list tab shows us having 5 items we need.
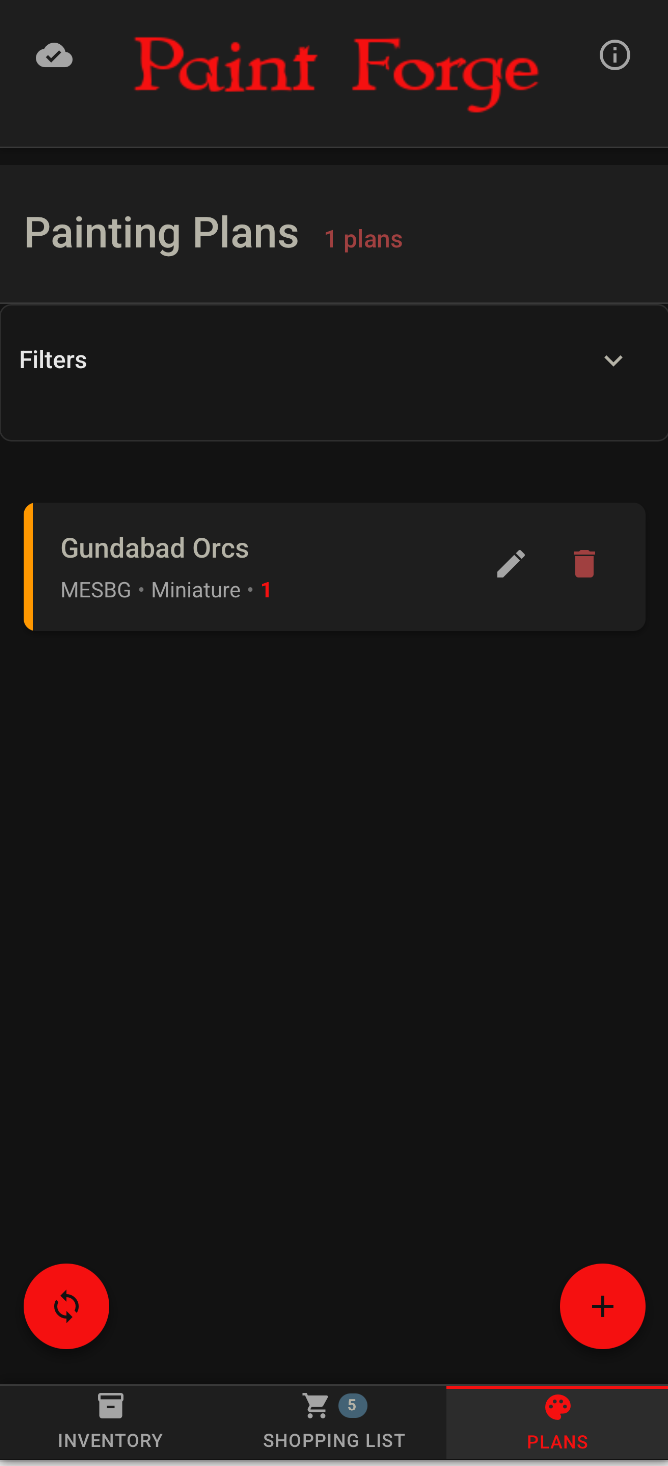
Paint Plans
Here is where you can create new plans for something you want to paint, or have painted. + button as usual, lets you create a whole new plan. The circular arrow button only shows on this screen and it does one thing — a quick scan of all plans to see if any paints in a plan which were in the shopping list when the paint was added to the plan are now in Inventory. The plan on this screenshot shows (see the “1”) that one paint needed for the plan is in the shopping list. The circular/sync button might detect that you have since bought that paint and now you have everything you need.
The pencil button will open an existing plan for editing.
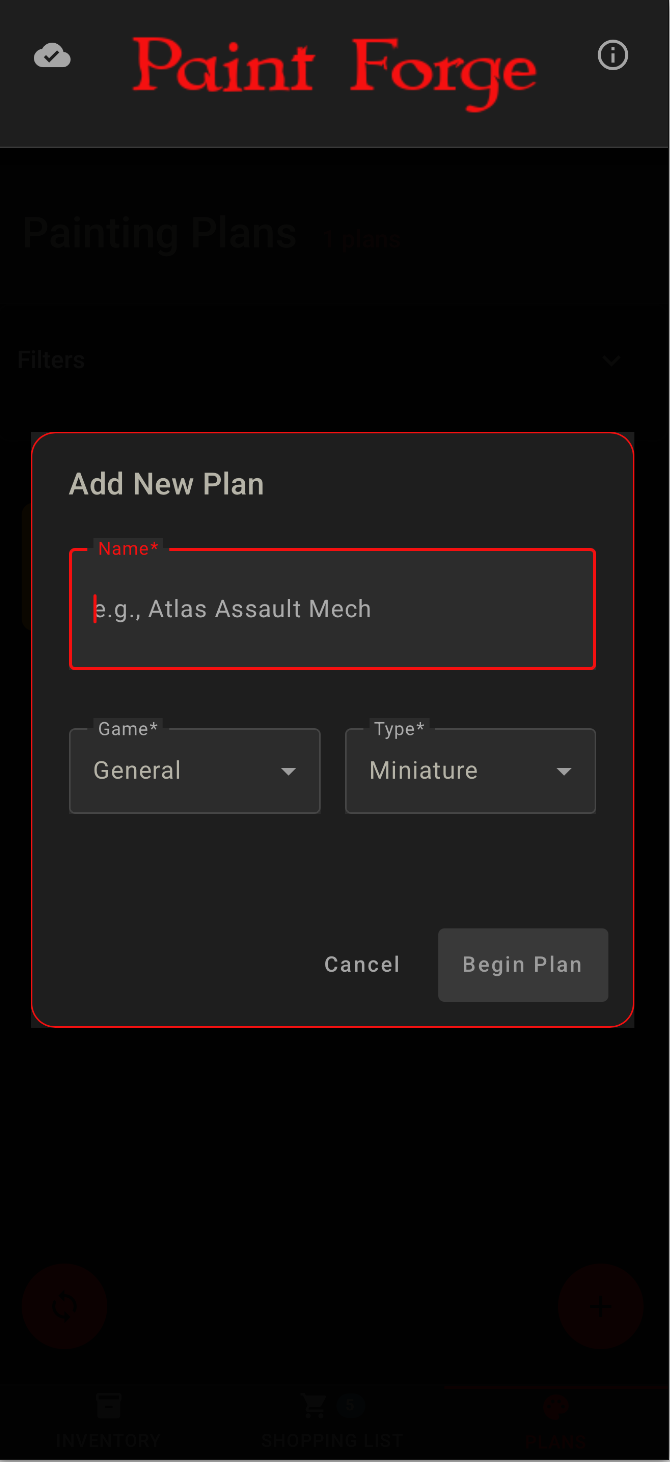
Add New Plan Screen
Create a new plan. Not many options here, you will add paints (steps) to the plan on a later screen.
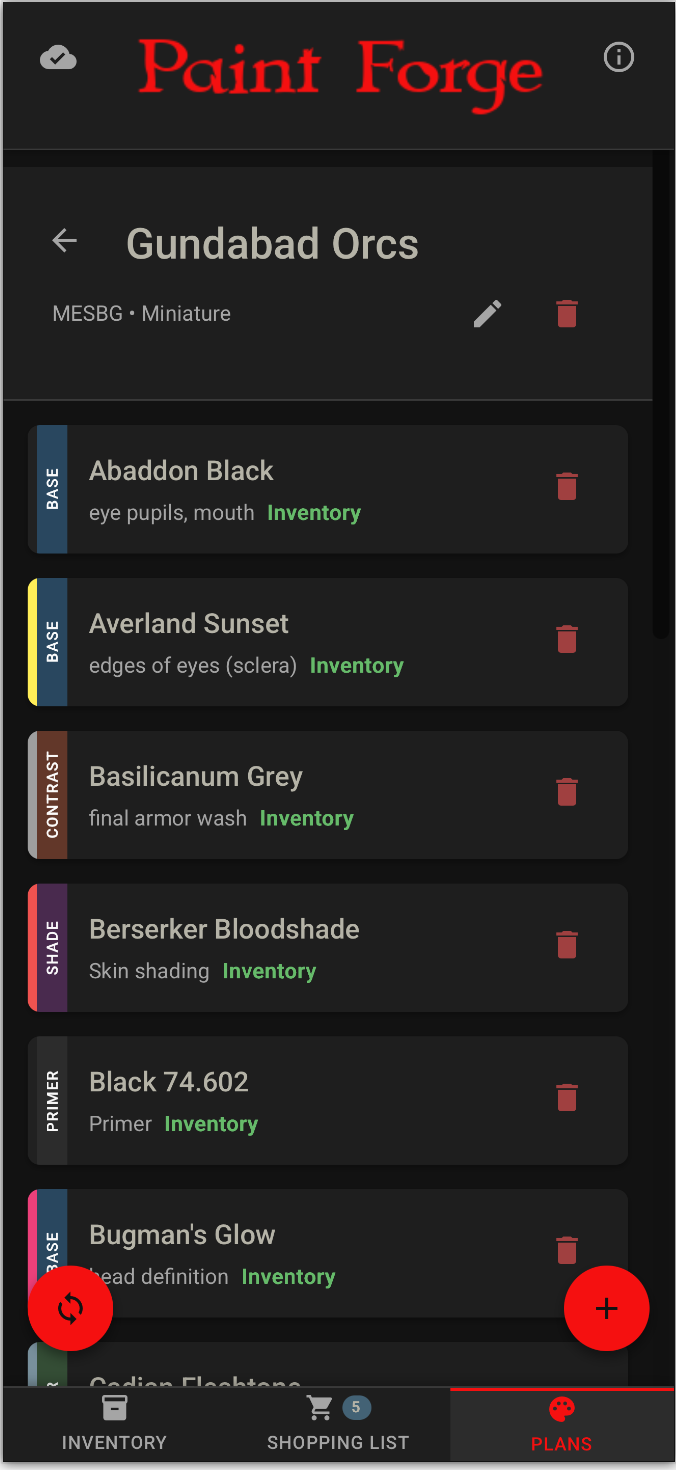
Plan Detail
A populated plan. You don’t get much space for the note, but I find it is enough to work off of.
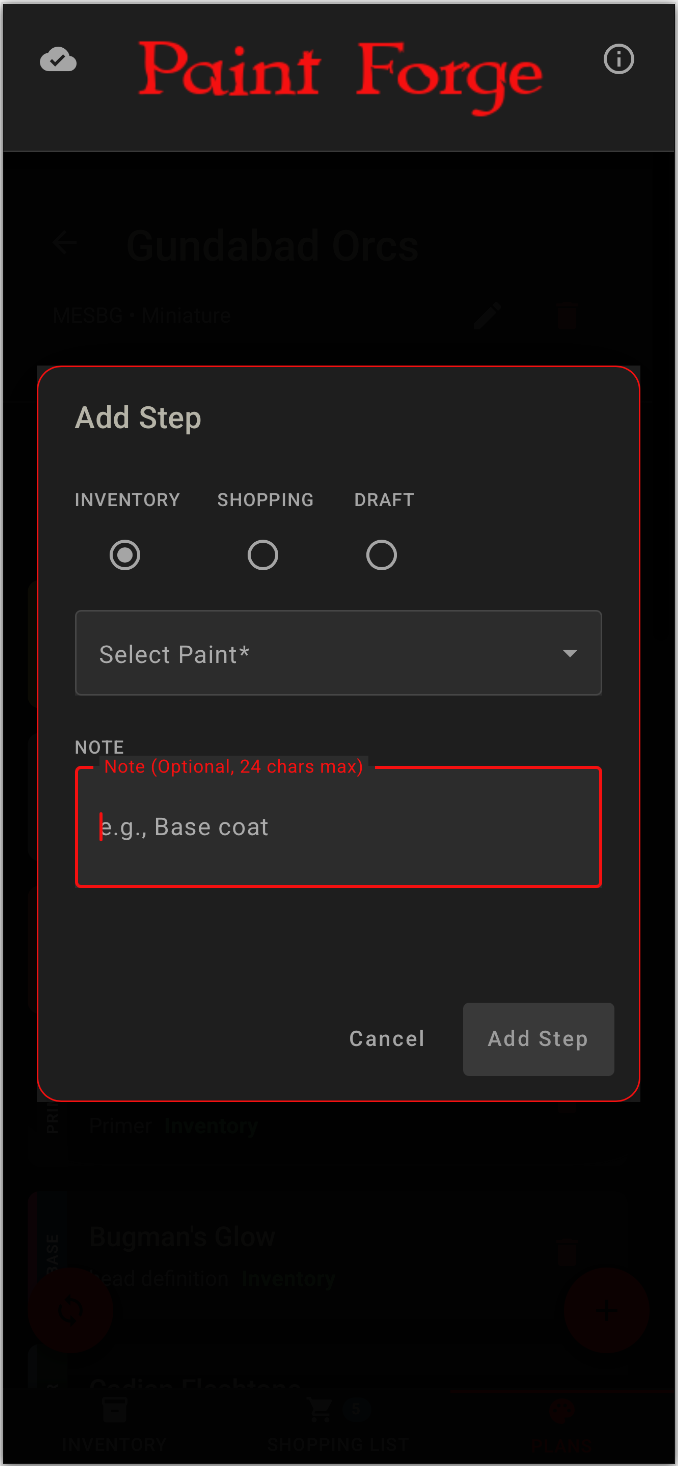
Add Step
When you use the + button on the plan screen you can add a step to the plan. “Step” implies an ordering, but we don’t actually track or allow ordering, it just would have been confusing to use “Paint” yet again.
The first thing here is to pick where the paint is coming from, and you have a new option: Draft. This is a placeholder or catchall for the paint. Maybe you don’t know exactly which of the 5 blue paints you have you want to use for that robe, you can just create a step called “Royal Blue”. Steps which are drafts have some extra functionality on the plan detail screen, where you can convert them to a shopping list or inventory paint. This will be shown in the next screenshot.
Plan Detail — Draft Step
Note the row which is “Draft”, highlighted in red and with the additional move button for when you have decided on the actual paint to use. My suggestion here is that if the draft paint is a real paint which can be purchased, use move to migrate it to the shopping list. If it is a vague placeholder like “Some blue”, once you have decided which actual paint just delete the draft item and add the real item.

User ID and Cloud Sync
Your User ID is just a Universally Unique Identifier, basically a random value that has an extremely low chance of being duplicated. Your data is tied to this user ID, and is stored locally in your web browser, always. It may also be saved out to “the cloud” which in this case means Amazon Web Services. The value in this cloud sync/save is that if you lose your local data storage for any reason, you can reconnect to your work pretty easily. It’s like keeping a backup in case your hard drive or phone dies. So if you use the sync to cloud feature, and you keep track of your user id somewhere outside the app, you can get back to your work just by putting the user id into the app and syncing “down” from the cloud. Another value is that you can access your work on multiple devices. If you set up your work on device A then copy the User ID from A to device B, magic.. device B now shows all of your work and you can continue working on either device. What’s not magic? It isn’t going to auto-save, you need to actively decide to sync to cloud just like you would use File→Save in many apps.
Warning
If you manage to edit a paint plan on device A and also on device B, without syncing from either, then you sync from both, whoever syncs last will “win” and you will lose the other device’s changes. My advice is to sync immediately after making any changes you have. The almost reflexive Control S you will have if you’ve spent time with MS Word in the past.
Generally this all works just fine and is easy, I only dwell on it because the geek in me gets concerned someone will goof up what I think is a nifty solution and be unhappy with the result.
Double Secret Warning
Due to my dislike for having to log in and give my info to everything and everyone, I have tried to provide a solution that doesn’t require that. As a result, you are not really logging in to anything, which removes all sorts of protections I would otherwise have on the system. If anyone abuses this by hammering on the door to the app, the back end will simply turn off by itself. Then I’ll make this private or require logins and all the bs I’d like to avoid. So please don’t be that headache. At the worst a DDOS would trigger a circuit breaker and an outage and ... yay .. you took down a tiny game utility, not much use for bragging rights or the old resume.